3D product configurators is a major new trend in online marketing and e-commerce. They were made possible thanks to the rapid development of WebGL, a technology for displaying 3D graphics right in the customers’ web browsers. The only problem that prevents this trend to grow even faster is the lack of efficient tools. Thankfully, with Verge3D you can build interactive 3D customizers pretty easily. In this tutorial, we describe the most straightforward and easy-to-use pipeline to create such applications.
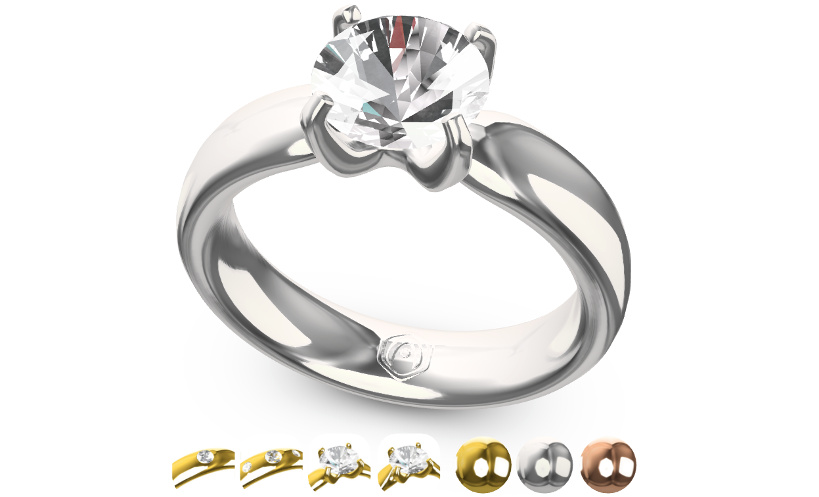
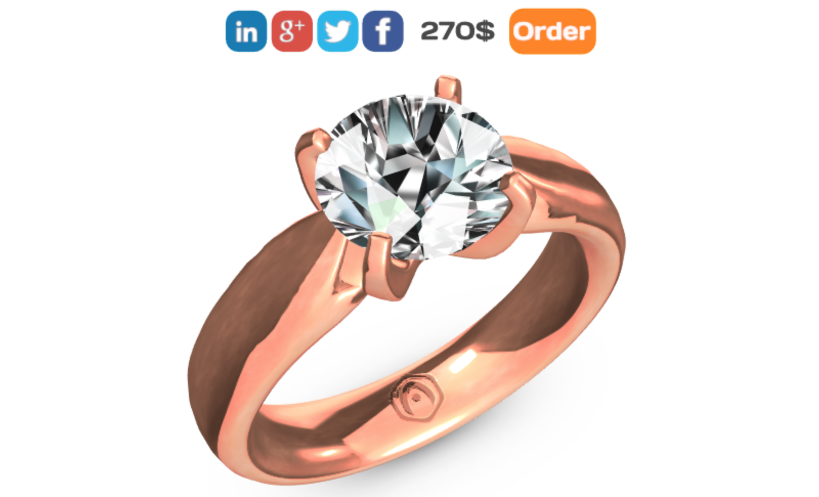
In this article we’re going to review the process of making a simple 3D jewelry configurator which looks like this (click on the image below to run it online):
By the way, you can find the source files (Blender, 3ds Max, Maya, and Puzzles) for this configurator in the Verge3D Asset Store.
Since Verge3D works for Blender, 3ds Max, and Maya, consider this tutorial 3D package-agnostic, however we will use Blender to demonstrate how the assets are produced. Also, in this article, we assume that you already have Verge3D installed. If not, check out Verge3D for Blender, 3ds Max, or Maya installation guides.
Summary
Don’t listen to people who say that creating 3D product configurators is hard and expensive — it is actually quite easy! Just stick to the plan:
- Create 3D content (models + materials).
- Make your 3D app interactive by using the Puzzles editor.
- Publish your configurator online.
Let’s review the production process step-by-step.
Creating 3D content
This step is the most complicated. But if you have some Blender, 3ds Max, or Maya experience, or a friend or employee who has such experience, you will be fine.
First of all, init your jewelry personalization application using the Verge3D App Manager. Type a project name in the app creation dialog and leave the other settings as is.

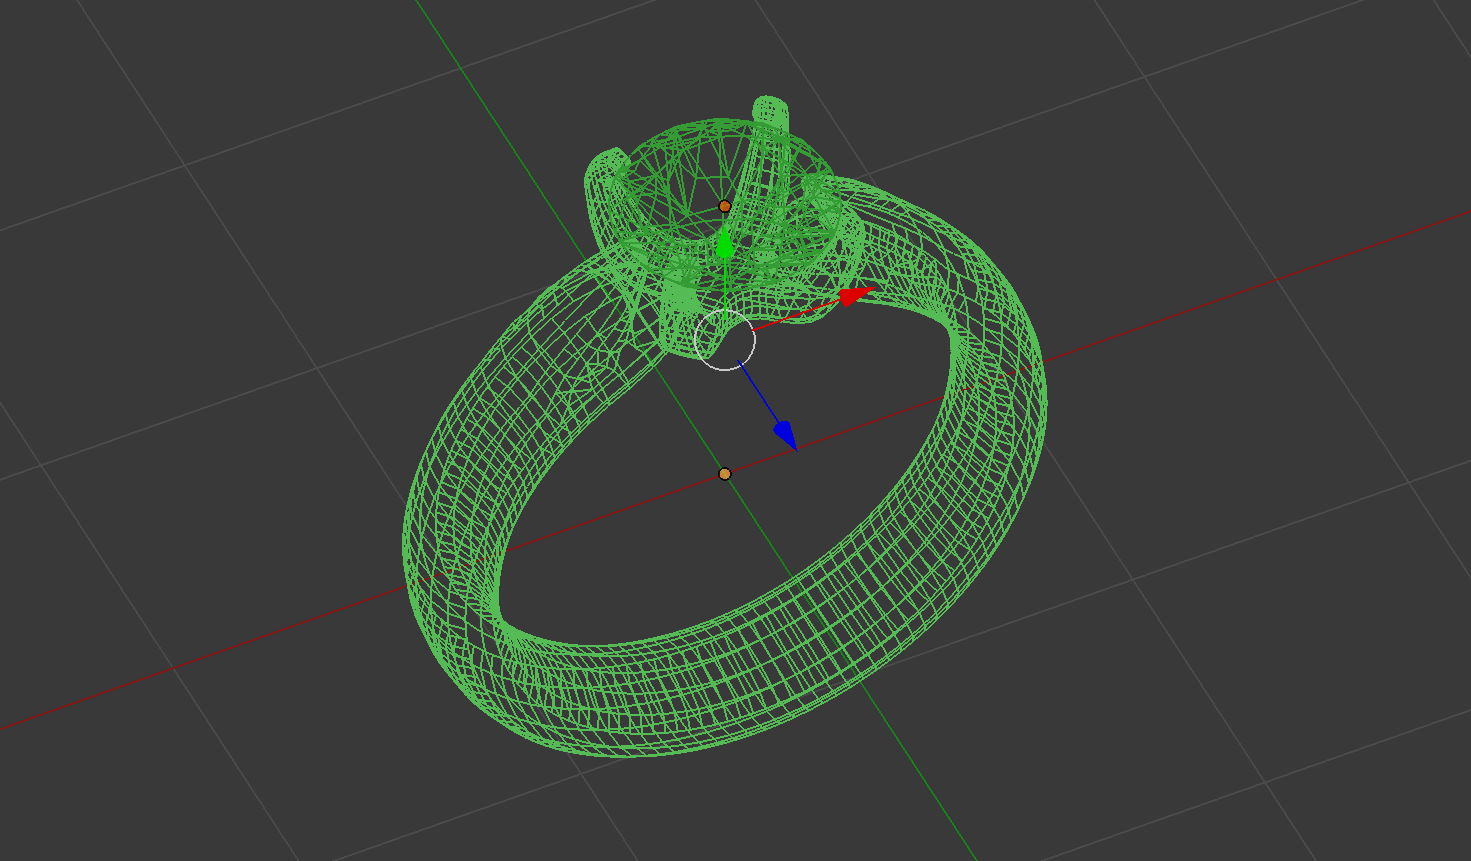
Then create your models. Please note that for the best results your 3D objects should be middle-poly, basically do not use more than 100k polygons per model.
The next stage is creating materials and textures. Remember, you can always familiarize yourself with materials by checking the source files of this jewelry app.
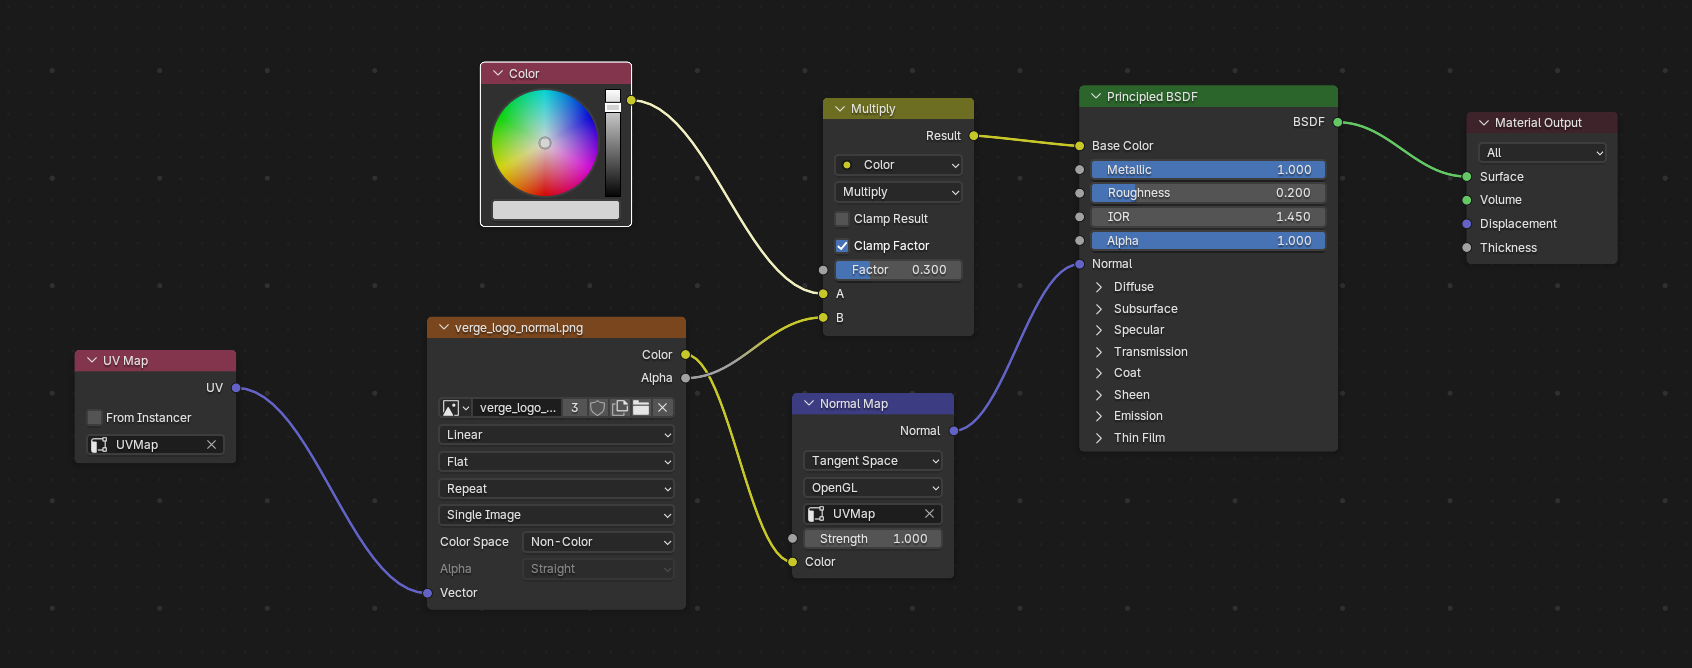
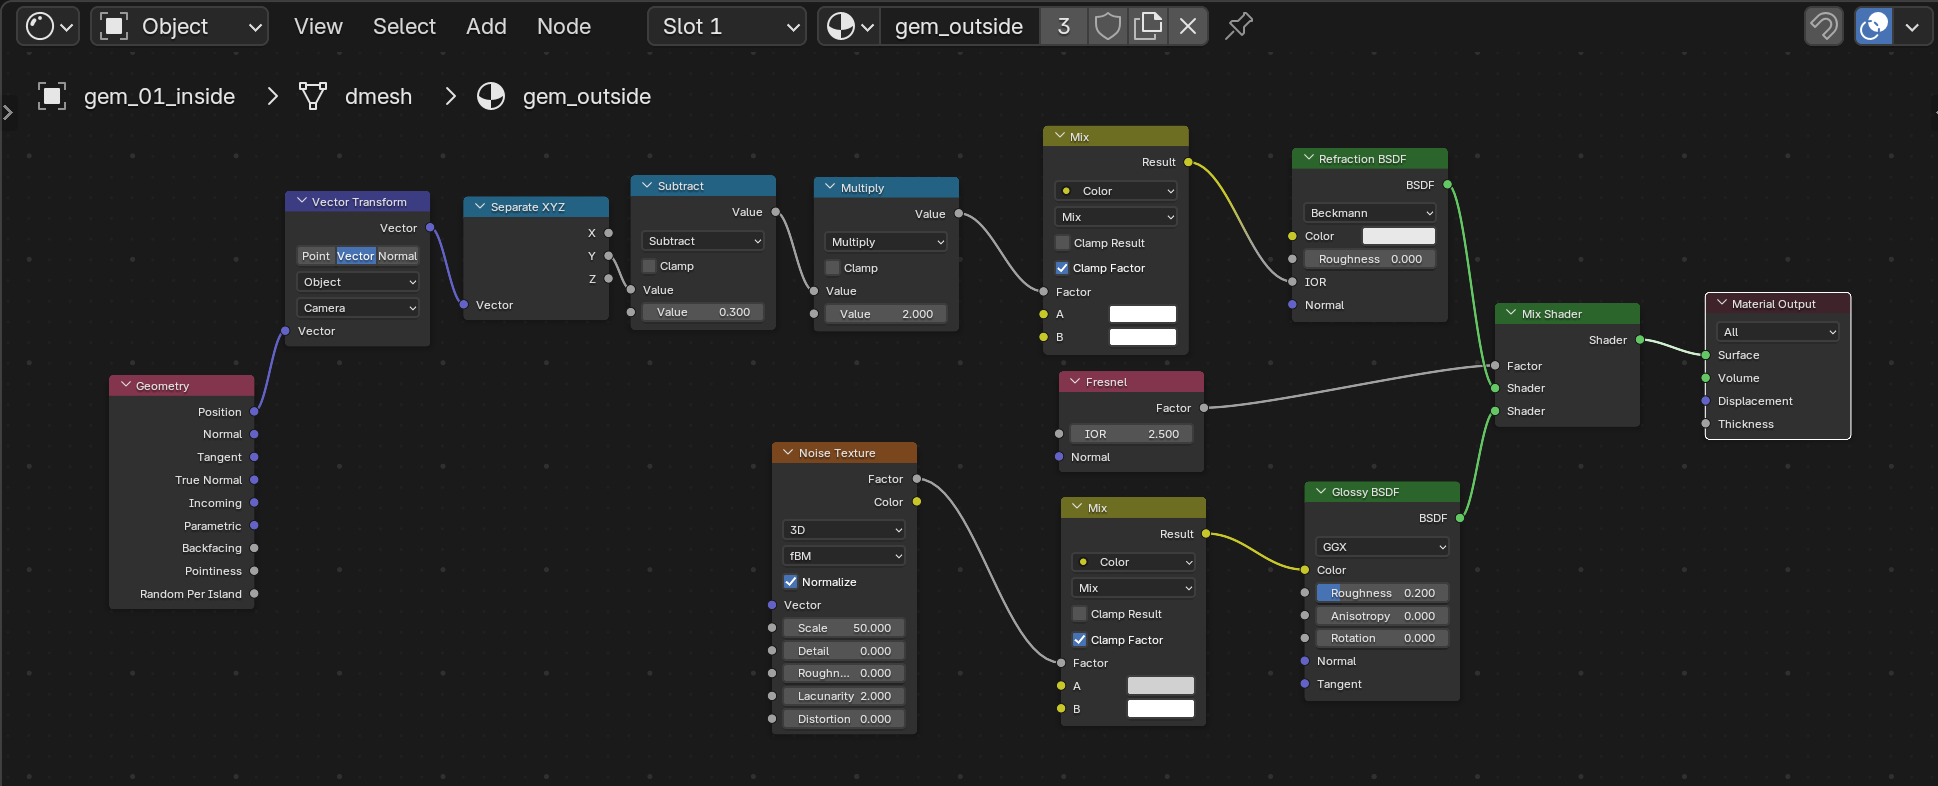
Silver and Gold
This is how the silver material looks in Blender. What we are basically have here is a Principled BSDF shader with normal map texture. The first one represents “metallic” surface, while the normal map makes the rendered material more realistic. Since we have 3 different materials: Silver, Rose and Yellow Gold we just make minor adjustments to the same node system setting the required colors for the Color map.
Diamond
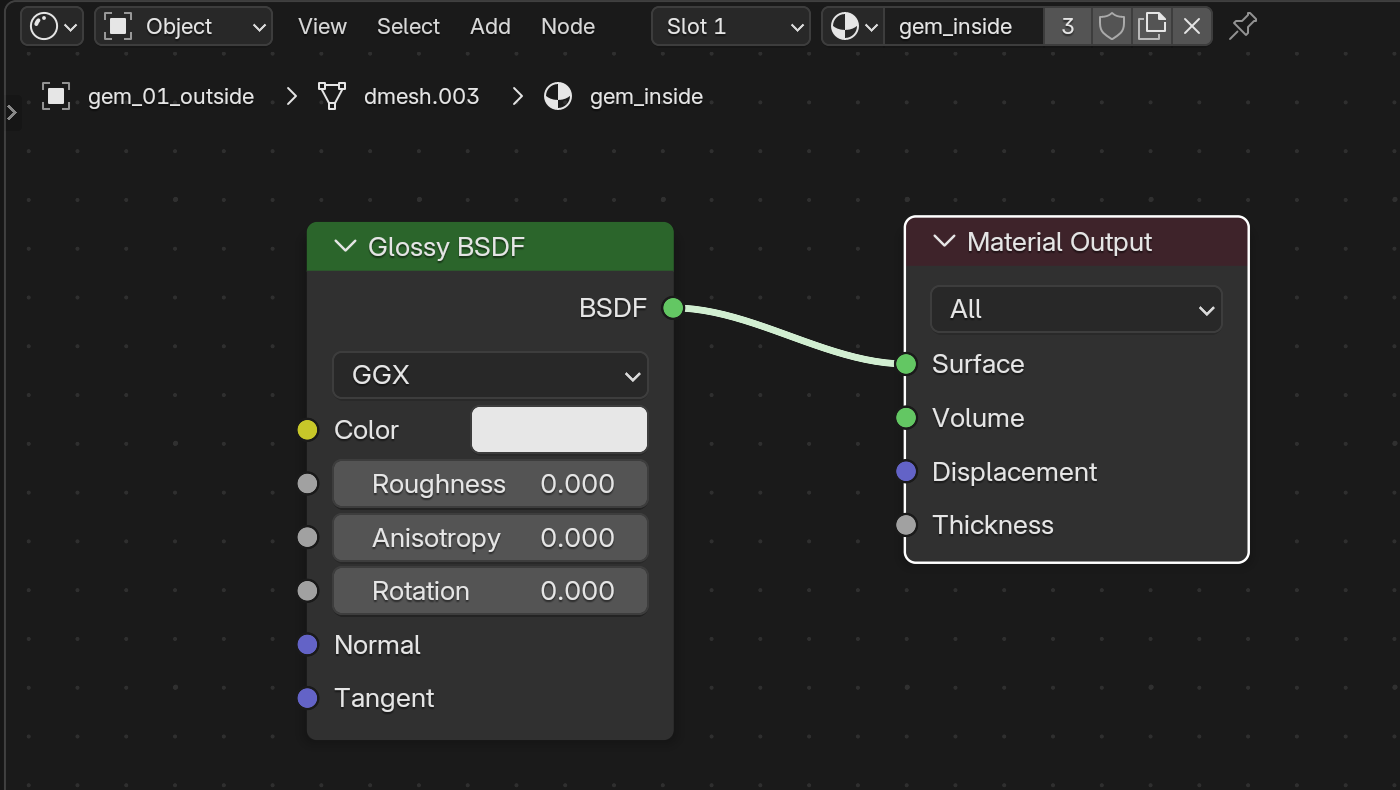
Let’s review the diamond material. To make the diamond shine and blink we modeled it using two layers. The gem’s internal layer has an irregular mesh structure and the following material:
The next image displays the gem’s external layer. This is just a cover mesh representing the diamond’s sides:
Adding interactivity
With Puzzles, you don’t need to be a programmer to create a fancy 3D configurator. Just use the “when clicked” puzzle to make your app respond to user actions, “show”/”hide” to change the ring shape and “assign material” to change materials. In this jewelry app, we have 4 different ring models which come with silver, rose, and yellow gold variants.
This is how the logic looks like in the Puzzles editor:
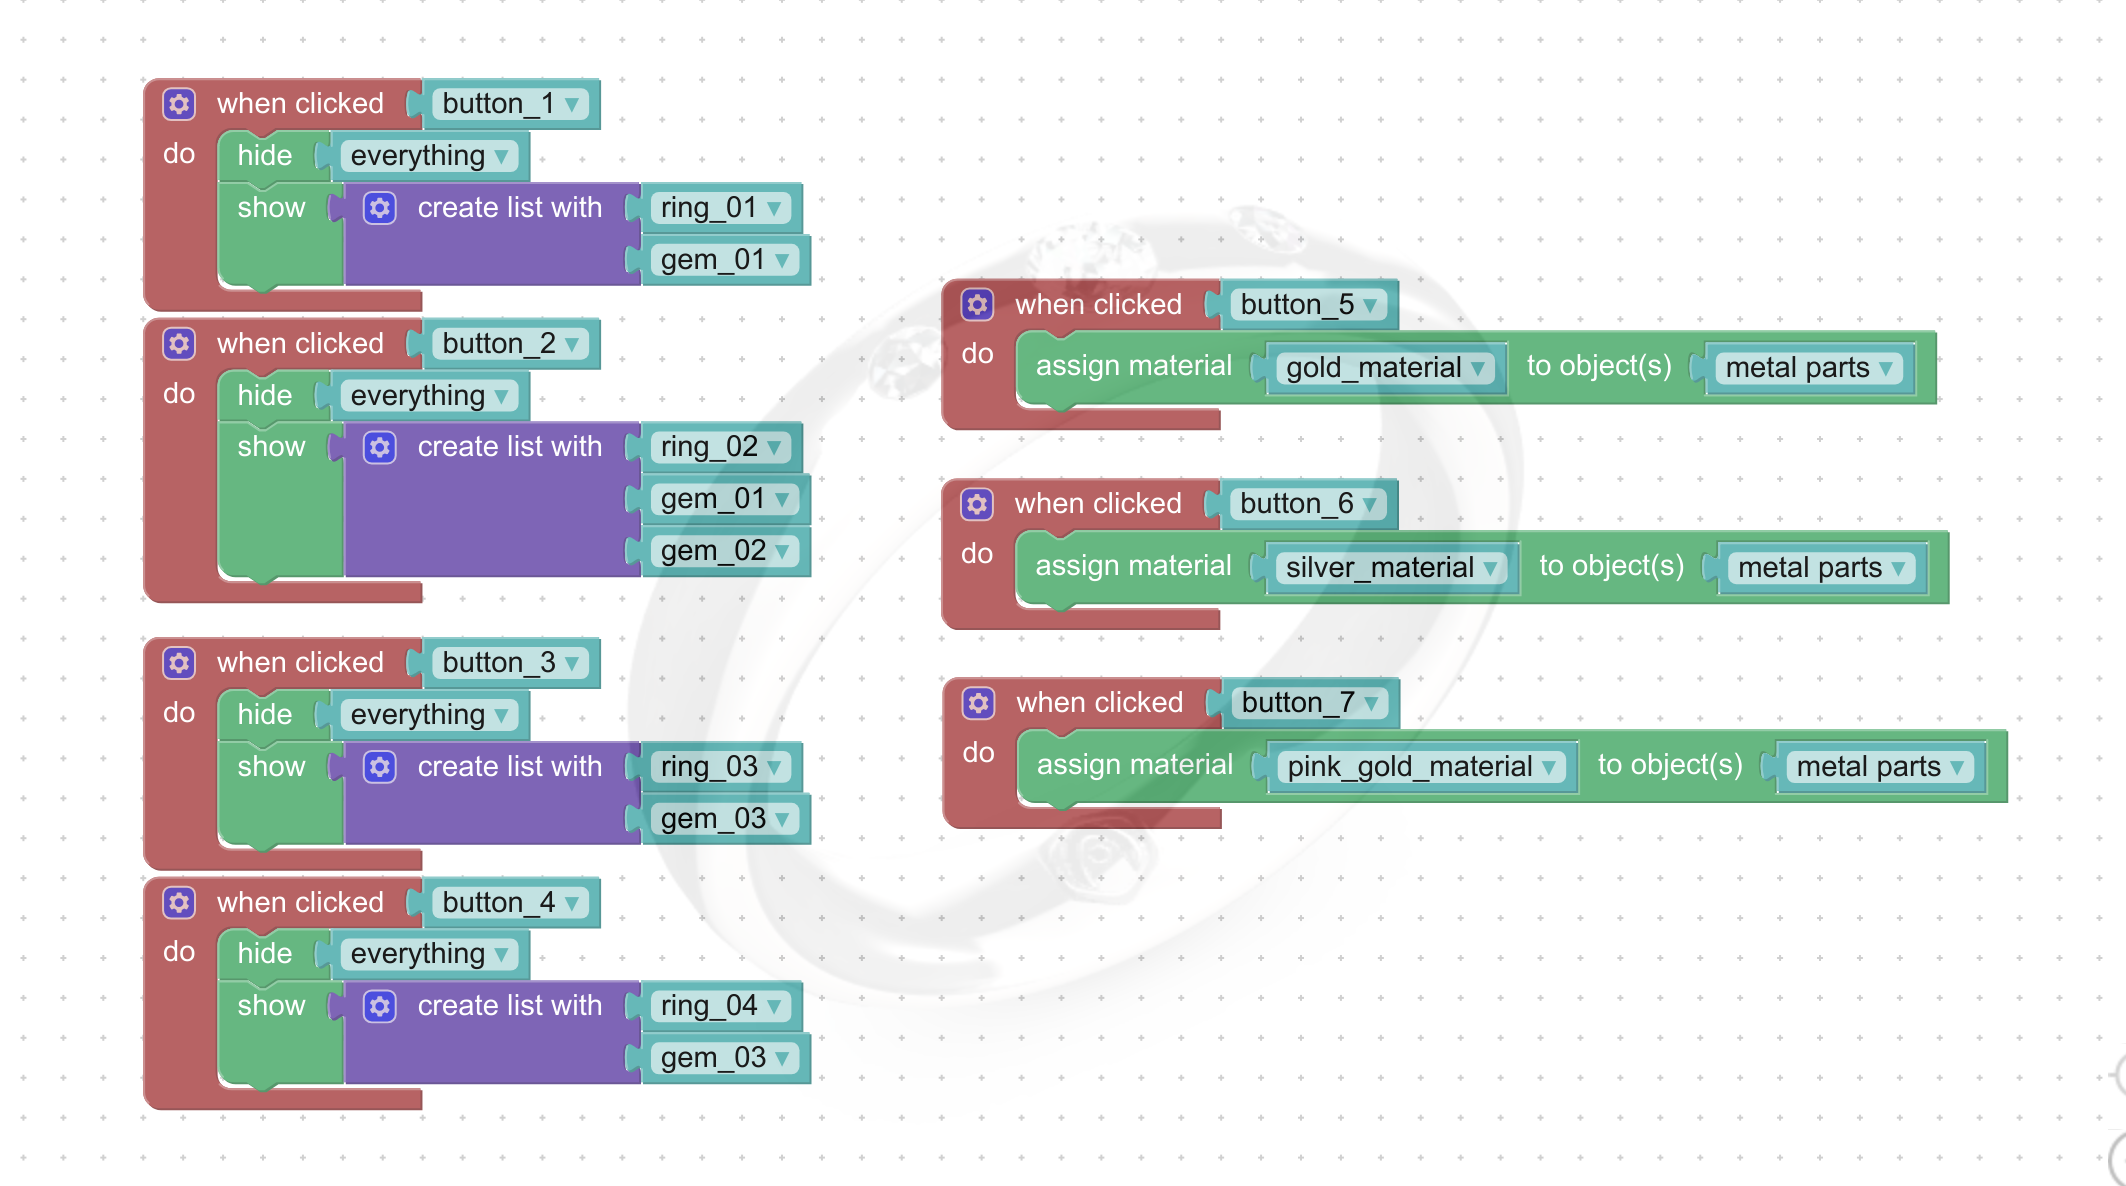
See, there is nothing complicated here. On the left side, you can see the show/hide puzzles while the right side is responsible for changing ring materials.
In total, this simple app offers as much as 12 ring variations!
Getting online
This part is easy. Verge3D content can be deployed on your own web servers or uploaded to the distributed hosting platform called Verge3D Network. In the latter case just click on the green globe icon in the App Manager to store your configurator in the cloud. After successful upload you will see something like that:
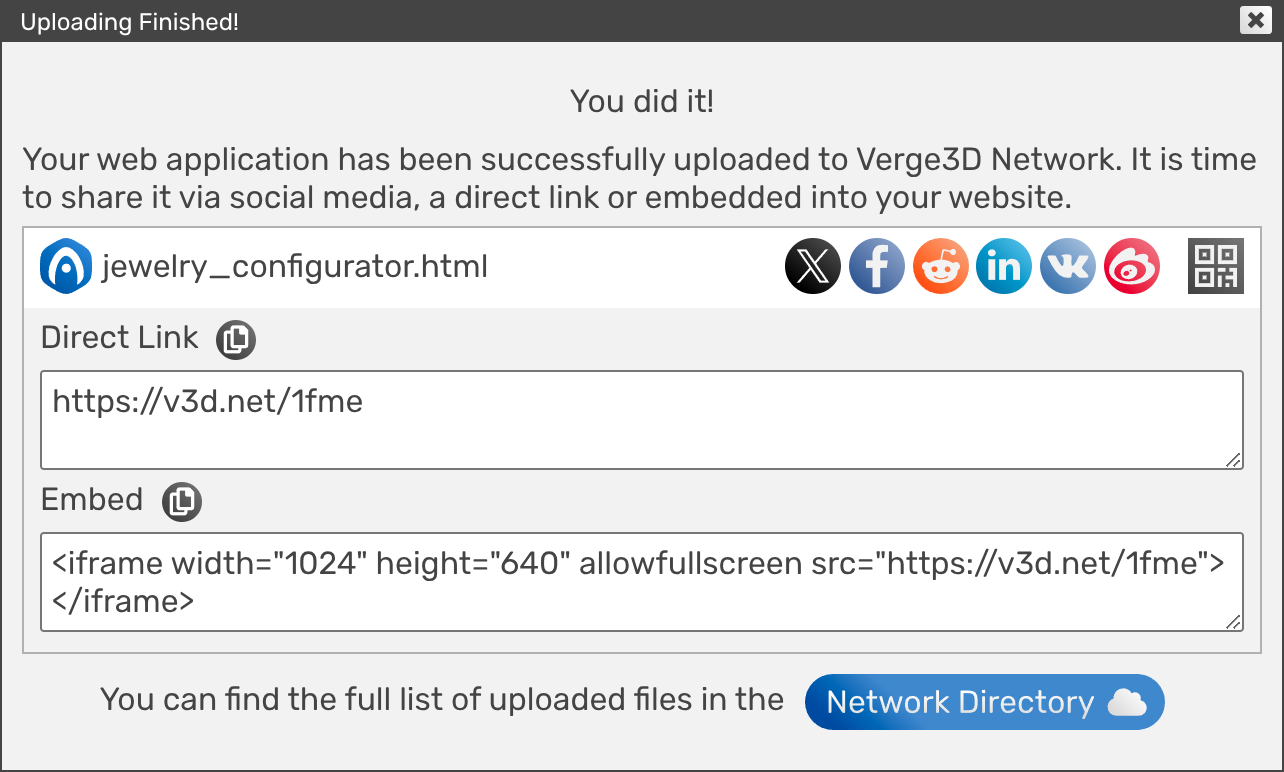
From this dialog you can get a direct link to your app, an HTML snippet code for embedding configurator to your own website/blog/online shop and various buttons to share the app via social media.
In closing
We hope you’ve found this article useful. Since this is just a brief overview of the process, many topics were left undiscussed. You might consider reading the Workflow topic in our User Manual to learn how to establish a more advanced production pipeline for creating awesome 3D product configurators.
Update 2026-03-24
Updated text and images to reflect recent developments.

Check out the sequel – Making a practical 3D product configurator:
https://www.soft8soft.com/making-a-practical-3d-product-configurator/
中文版全文已发布到知乎和微信公众号(Wechat/Zhihu: Verge3D)
Here is the Chinese Translation:
WeChat: https://mp.weixin.qq.com/s/QBsBKiVkb8kGv8rDvYW-vQ
Zhihu: https://zhuanlan.zhihu.com/p/46123485
谢谢
This article was linked from Adobe forums
https://forums.adobe.com/thread/2604374