Home › Forums › Graphics / Blender › Lightning streaks – Blender
- This topic has 22 replies, 4 voices, and was last updated 3 years ago by
 c4cc.
c4cc.
-
AuthorPosts
-
2023-05-30 at 1:28 pm #64184
 c4ccParticipant
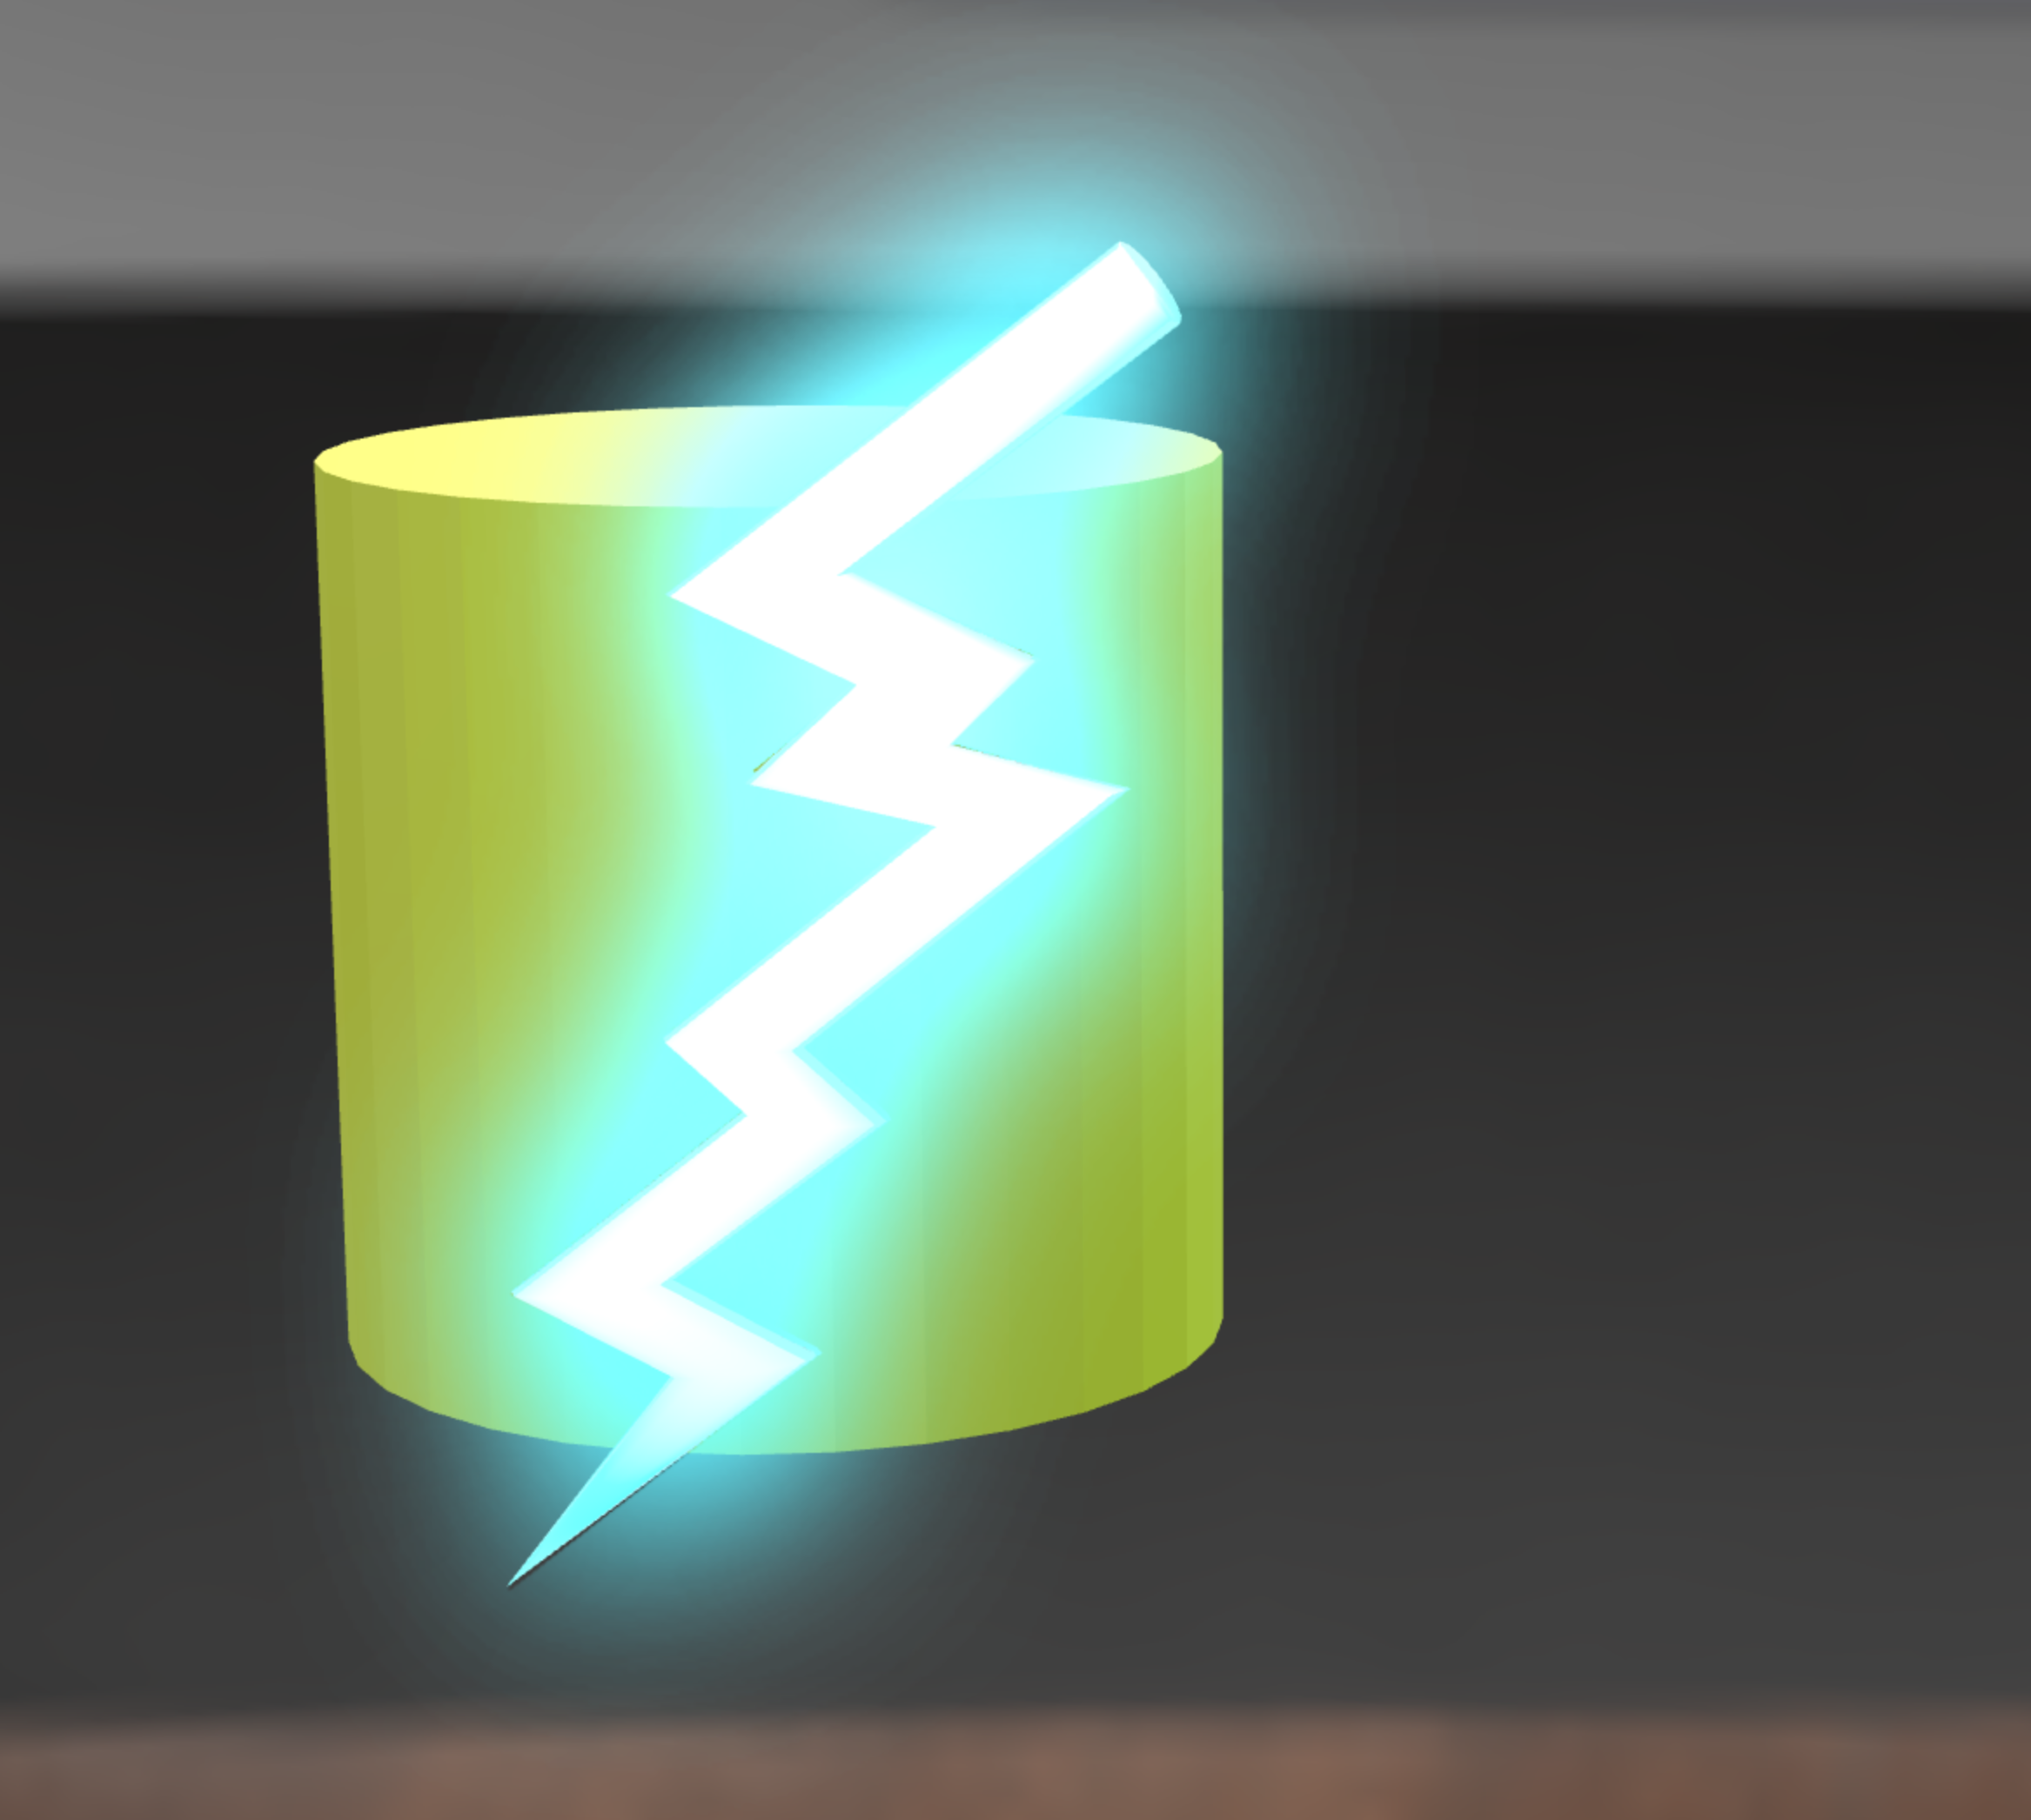
I’m copying lightning streaks as per attachment, in Verge3d.
Here is my blender file:
https://blend-exchange.com/b/gzWXP30A/What post-processing or materials settings in Verge3d app do I use to achieve similar lightning streaks? Do I need Blender as well for this? Thanks
Attachments:
FPS trialproduct 20.9.25 https://postimg.cc/gallery/LMM5vkQ/af43346e
2023-05-30 at 1:56 pm #64189 Mikhail LuzyaninStaff
You need to convert all splines to mesh, apply emition material to them and enable bloom with puzzles. Or render all effects to an image and apply them on a plane with transparent material.
Co-founder and lead graphics specialist at Soft8Soft.
2023-05-30 at 2:18 pm #64190kdv
Participantdeleted…
Puzzles and JS coding. Fast and expensive.
If you don’t see the meaning in something it primarily means that you just don’t see it but not the absence of the meaning at all.
2023-05-30 at 3:04 pm #64191 xeonCustomer
Given your latest image as a reference. You may want to try a combined set of appraches.
Render the shaft of the blade or lighting bolt with an emission shader and use the post process effect – bloom to. To achieve the firey transparent areas you are better off creating an animated sprite sheet with transparency. It will allow you to get the result based on the images you have provided.
Xeon
Route 66 Digital
Interactive Solutions - https://www.r66d.com
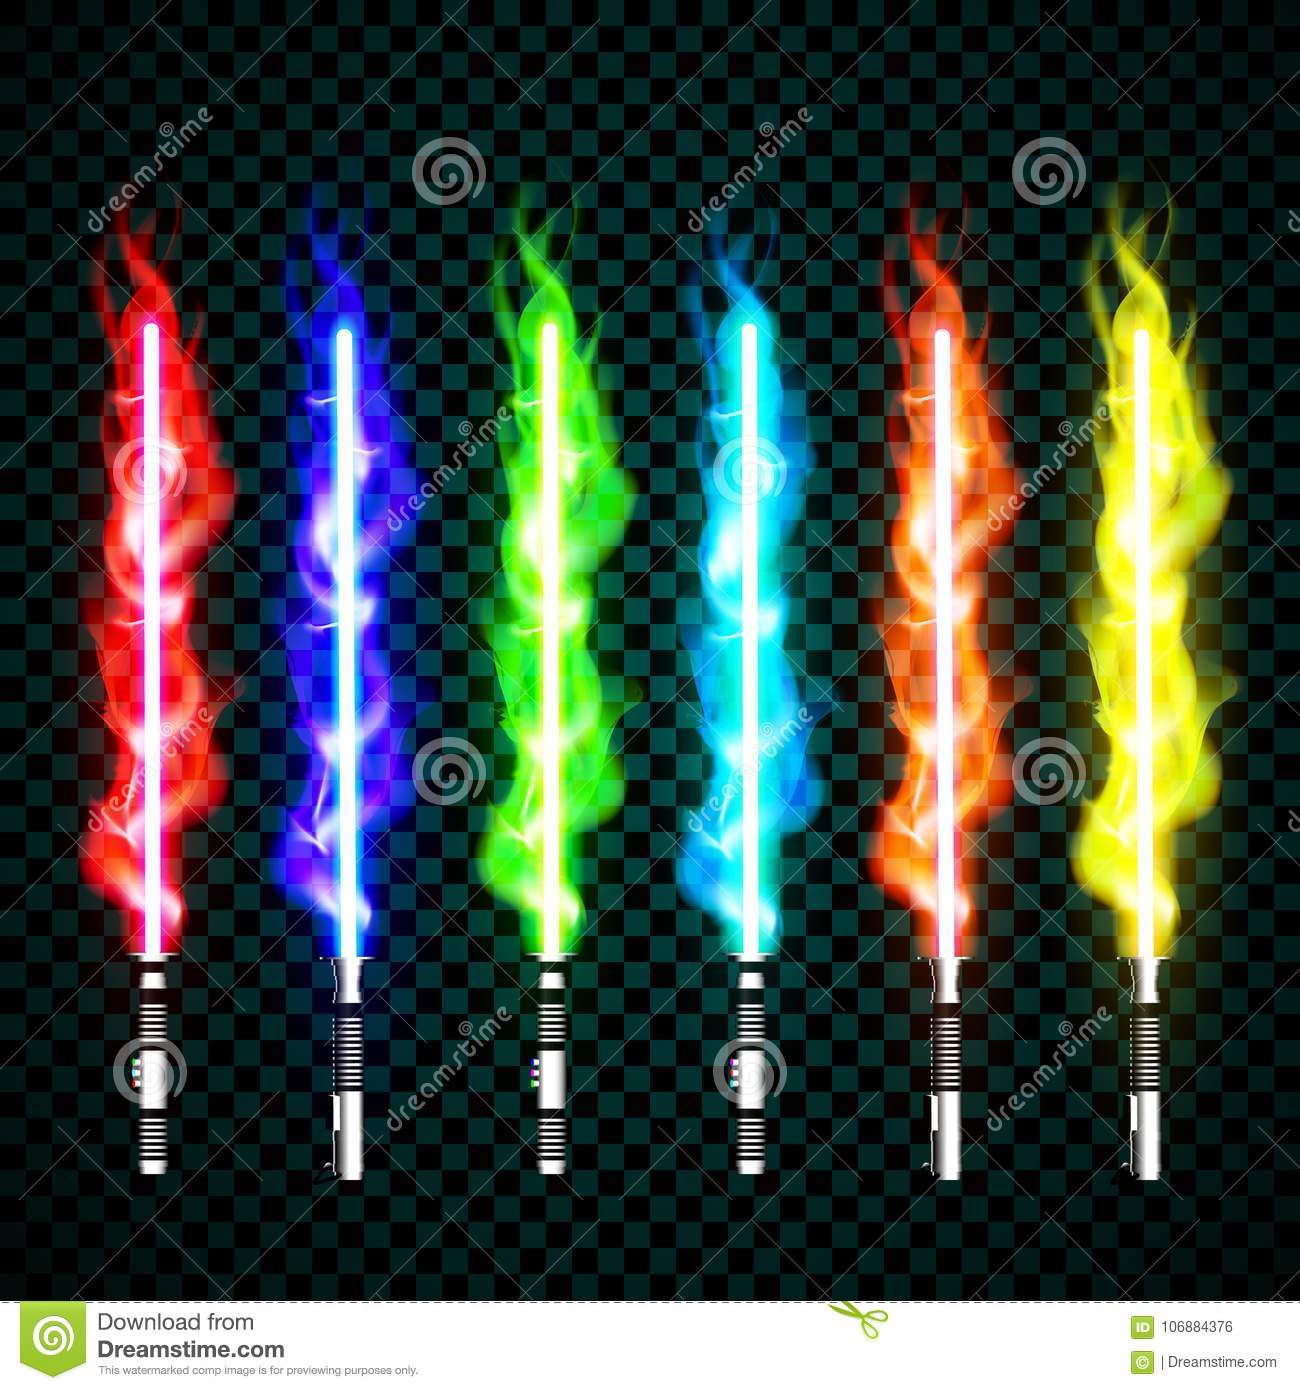
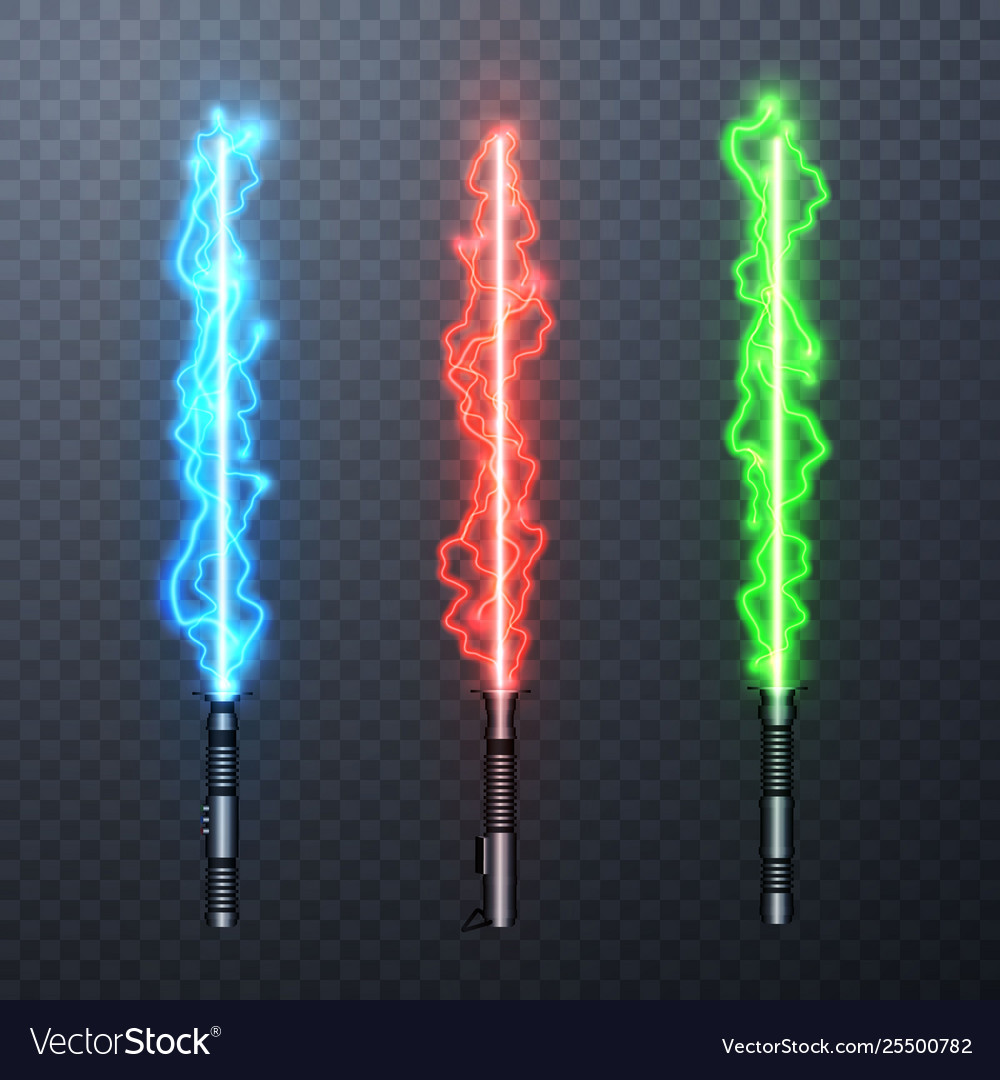
Tutorials - https://www.xeons3dlab.com2023-05-30 at 3:32 pm #64193c4ccParticipantunfortunately, notice the elec streaks had no white glow in the middle, what I need is a white glow in center, with colored glowing outline on the sides, as per the examples here I uploaded
FPS trialproduct 20.9.25 https://postimg.cc/gallery/LMM5vkQ/af43346e
2023-05-31 at 7:24 pm #64214c4ccParticipantDelete
FPS trialproduct 20.9.25 https://postimg.cc/gallery/LMM5vkQ/af43346e
2023-05-31 at 7:25 pm #64215c4ccParticipantGiven your latest image as a reference. You may want to try a combined set of appraches.
Render the shaft of the blade or lighting bolt with an emission shader and use the post process effect – bloom to. To achieve the firey transparent areas you are better off creating an animated sprite sheet with transparency. It will allow you to get the result based on the images you have provided.
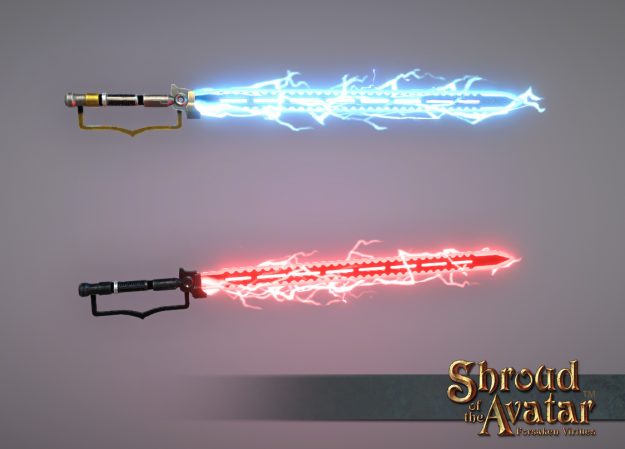
Do I do this in Blender, or Verge3d? If the latter, post processing bloom to has no means of making material transparent. If the latter, post processing bloom to has no means of making material transparent? For Verge3d, how do I get color in bloom? Blender does: https://ibb.co/rt8LkX3
FPS trialproduct 20.9.25 https://postimg.cc/gallery/LMM5vkQ/af43346e
2023-05-31 at 11:34 pm #64231xeonCustomerYou will use, a photo editor (Photoshop, Affinity Photo, etc.) or a motion graphics package (Premier, Apple Motion, Houdini…etc.) to create the “flames” and the “bolts” . You would use blender to create a plane and the necessary constraints, and the UV coordinates that will cycle your animation. You will then use verge3d and control the UV coordinates to animate the object or use the play animation puzzle to make it come to life.
Sprite sheets are great ways to create the alpha looking transparency of the flame you are wanting while retaining the white opaque center via the model of the bolt itself.
If you are not familiar with sprite sheets … let me know.
To test the approach. Create a simple polygon lighting bolt. Place a white emission shader on it. Do not use bloom in blender or V3D. This approach doesn’t require it.
Create a single flame graphic that has an alpha channel and glow the way you want to see it.
Create a plane mesh and map the new graphic to the plane. Be sure to set the blend mode to Alpha Blend and be sure to the graphic when rendered is transparent.
overlap these two elements in blender and align the plane so that looks correct over the bolt.
Attach these two objects to an empty and then place a constraint on the empty to always look at the camera.Render it out and see if you get the effect you want. You should end up with something that looks like the firey light sabers. White opaque emissive bolt, transparent flames with glow in the right color.
A crude example is shown here:
Attachments:
Xeon
Route 66 Digital
Interactive Solutions - https://www.r66d.com
Tutorials - https://www.xeons3dlab.com2023-06-01 at 3:07 am #64238c4ccParticipantYou will use, a photo editor (Photoshop, Affinity Photo, etc.) or a motion graphics package (Premier, Apple Motion, Houdini…etc.) to create the “flames” and the “bolts” . You would use blender to create a plane and the necessary constraints, and the UV coordinates that will cycle your animation. You will then use verge3d and control the UV coordinates to animate the object or use the play animation puzzle to make it come to life.
Sprite sheets are great ways to create the alpha looking transparency of the flame you are wanting while retaining the white opaque center via the model of the bolt itself.
If you are not familiar with sprite sheets … let me know.
Thanks for your tip, but sadly, I’m not familiar with sprite sheets, nor do I use photo editors (currently)
FPS trialproduct 20.9.25 https://postimg.cc/gallery/LMM5vkQ/af43346e
2023-06-01 at 6:30 am #64245c4ccParticipantI found an interesting lightning creation method:
I did follow your methods


Sadly, this is what I got:


Where did I go wrong? I wanna copy your method. Thanks
FPS trialproduct 20.9.25 https://postimg.cc/gallery/LMM5vkQ/af43346e
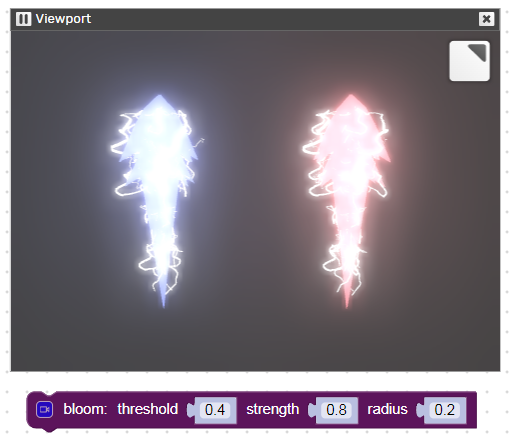
2023-06-01 at 7:26 am #64253Mikhail LuzyaninStaffTry to decrease emission from 100 to 55 for example as on the first screenshot.
Co-founder and lead graphics specialist at Soft8Soft.
2023-06-01 at 8:13 am #64264c4ccParticipantTry to decrease emission from 100 to 55 for example as on the first screenshot.
I did, sadly, no difference:


FPS trialproduct 20.9.25 https://postimg.cc/gallery/LMM5vkQ/af43346e
2023-06-01 at 7:48 pm #64297c4ccParticipantHere is my Blend File:
https://blend-exchange.com/b/VdygGAYoThe emission result I want for my electric/lightning:
FPS trialproduct 20.9.25 https://postimg.cc/gallery/LMM5vkQ/af43346e
2023-06-01 at 8:35 pm #64299ParticipantStrength 3.8 makes your model shine like an electric bulb. Reduce it a little…
Puzzles and JS coding. Fast and expensive.
If you don’t see the meaning in something it primarily means that you just don’t see it but not the absence of the meaning at all.
2023-06-02 at 6:59 am #64303c4ccParticipantOr render all effects to an image and apply them on a plane with transparent material.
If I use this, basically effects like emission and especially bloom can vary, despite them being in the same Blender file or Verge3d app?
Meaning that lights and explosions with different effects, especially for Bloom intensity and radius, can be in the same Blender or Verge3d file/scene without getting messed up, due to how a Blender’s bloom affects all material with emission colors in that same Blender scene/file.
FPS trialproduct 20.9.25 https://postimg.cc/gallery/LMM5vkQ/af43346e
-
AuthorPosts
- You must be logged in to reply to this topic.